Create a first batch
to create lots of QR Codes at once!
Generating numerous QR Codes runs thanks to an excel file. To avoid complex edition process and errors, Unitag lets you use templates in order to create batches.
Download a template and create a Batch
When starting with Atlas, first select an application you wish to work with :
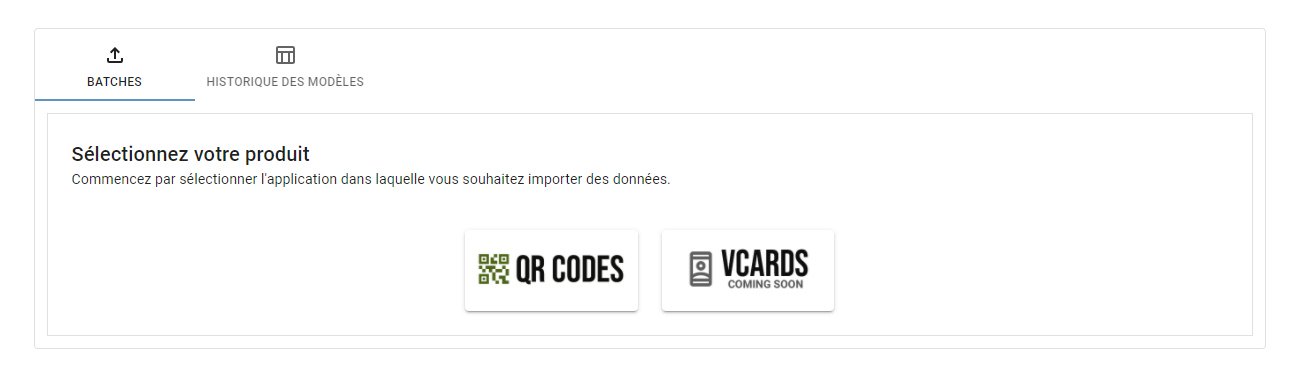
From the next menu, chose :
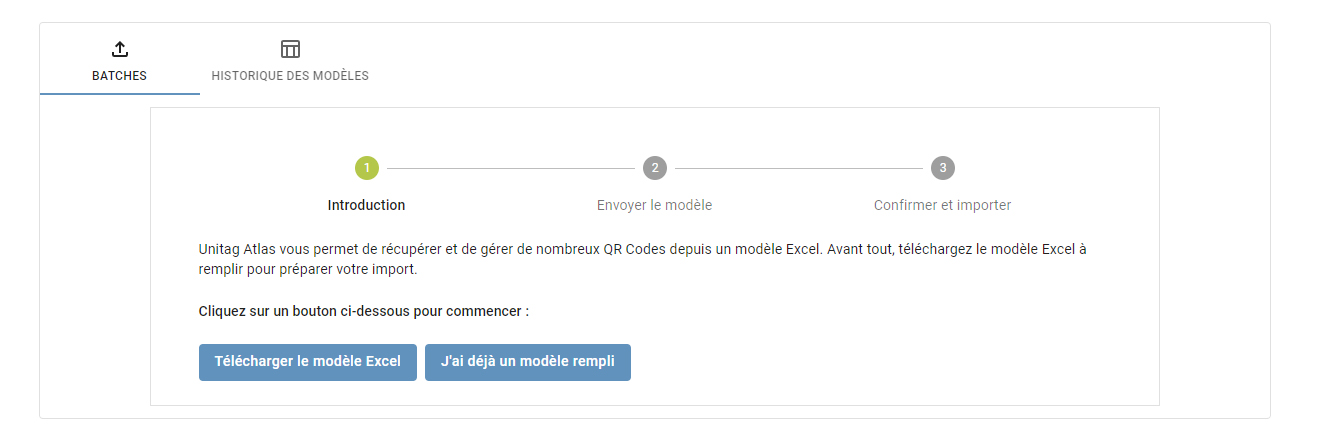
The downloaded excel template is ready to be used as required for your creative needs .
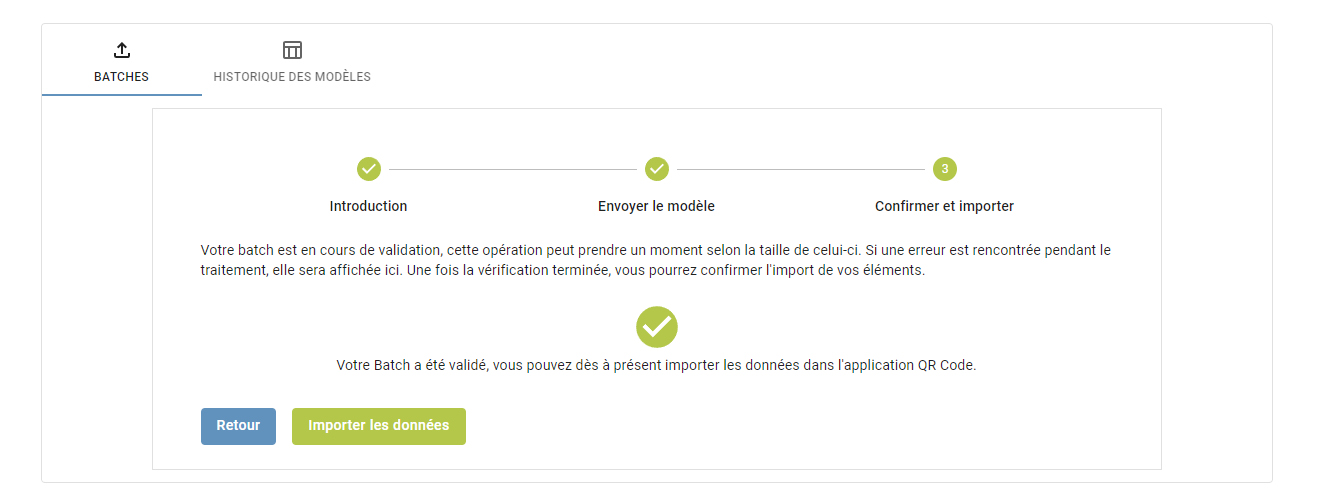
Once done, slide the file into the grey dropzone that showed after your download. You can also click on the dropzone to open your file explorer.
Following the file import, our services will check it to avoid import errors. If the file passes the checks, you'll be able to confirm your import by clicking .
All QR Codes generated this way will be found on your QR Codes app, inside of the QR Codes list page.
Templates management and batch visualization
When an excel template has been validated by out services, Unitag Atlas will now show the complete interface.
Batches
Initially, Atlas starts with the tab selected:
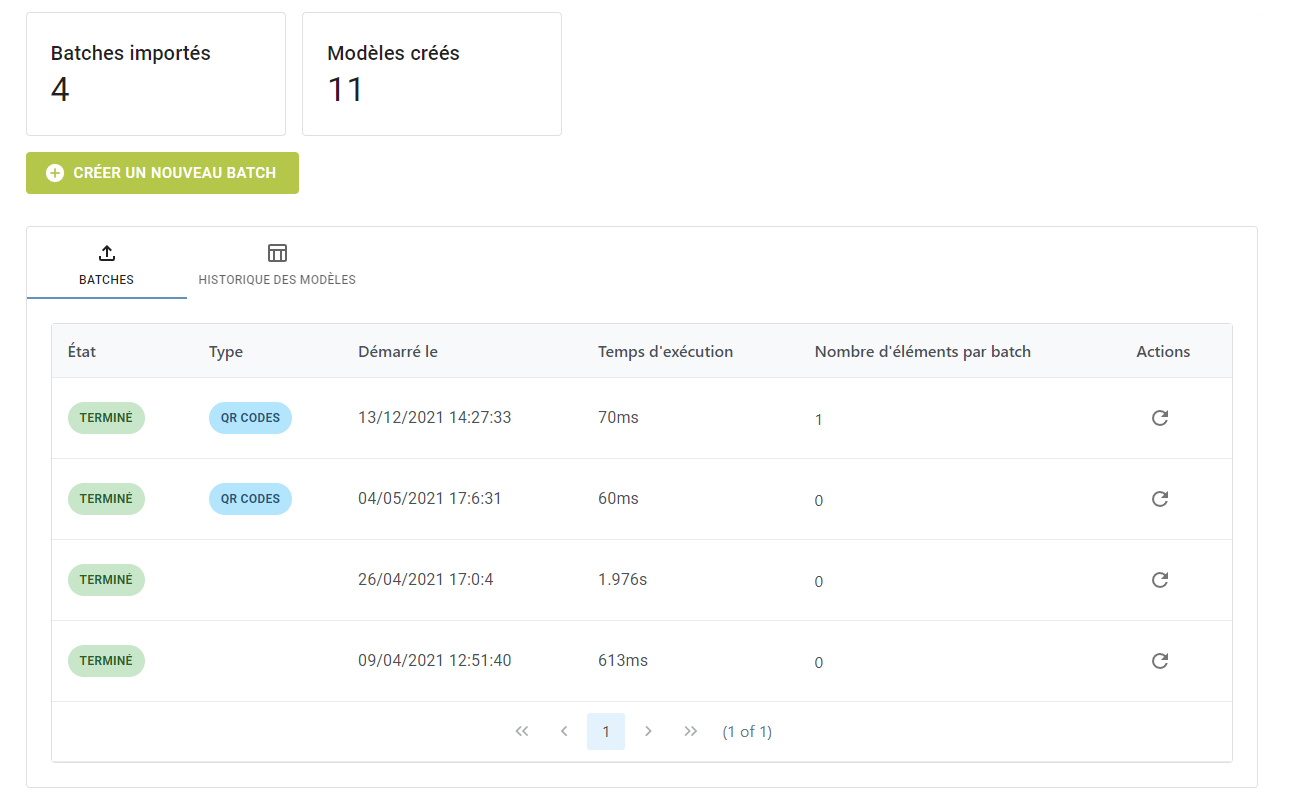
On this page resides all informations regarding your batches, including the total number of send batches and send templates.
Within the batch tab table, you'll find every batches send plus their status, type, initial import date, execution time and the number of assets generated thanks to it.
The action button on every line allows to refresh the status, useful whenever a batch takes several minutes of execution time.
Templates history
The second tab, , contains all templates send to our services, whether they passed checks or not.
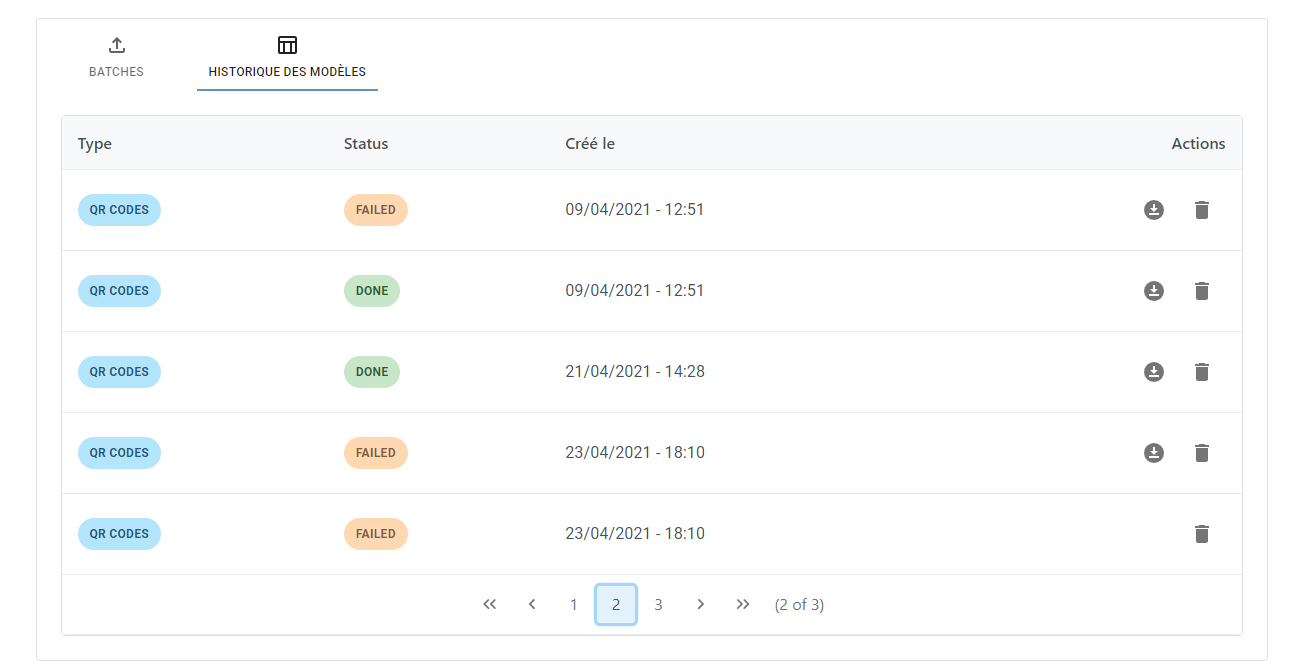
In this tab are registered all necessary informations regarding excel templates : the type of information send, template validity, creation date and specific actions (download or delete templates from our services).
Note
The FAILED status only means that the template failed the validity checks before being send.
Atlas templates
You'll have multiple choices for filling your Atlas Template, even if you'll have to fill the fields regarding QR Codes 'macros' first. You'll be able to manage designs with the template as well.
However, we recommend creating a QR Code template first in order to use it within your Atlas template to make all QR Codes match the same visual entity by indicating your QR Code template in the right column (see below).
How to create a QR Code template ?
Note
To this day, an Atlas template is unique and can't be used for multiple imports unless modified.
A guide to Atlas templates
An Atlas template is composed by three parts:
1. The Data part contains everything your QR Code needs to work properly.

Note
Tags must be left unedited, for they will be used by our API when the import starts.
Label : A label for your QR Code. Is equivalent to naming it in the generator.
Destination URL : Destination (or content) of your QR Code. Users will be redirected to it.
Resolution : QR Code type (dynamic, dynamic pro, static) to use during the import. Depends on your plan.

Short URL : Allows to change short URLs.
Domain : If a domain name has been registered in the unitag console, you'll be able to use custom domain names in your short URLs.
Campaign and Sub Campaign : Can be bind to campaigns and sub-campaigns names to directly give your assets a Campaign.
2. The Design part will help you use a QR Code template for generation, or manually edit future designs.

Template ID : If wanted, will contain the QR Code template ID.
Type : Type of color to use for the QR Code (prefilled with Single Color, Gradient or Image as Color).
Primary Color : Hex code of the main color (ex: #afc928).
Secondary Color : Hex code of the secondary color (gradient only - ex: #afc928).
Gradient Type: Prefilled field about the gradient type, only useful if Gradient has been selected in the Type column.
Overlay Image URL: Pasting a public image URL in this field will use it as a mask top of your QR Code instead of a color or gradient. Only useful when Image as Color has been selected in the Types column.
Brightness : Adjust QR Code brightness.
Contrast : Adjust QR Code contrast.
Modules : Choose a Modules Style for your QR Code. Multiple choices avaliable, same terminology as in the generator.
Eyes : Choose a Eyes Style for your QR Code. Multiple choices avaliable, same terminology as in the generator.
Logo Image URL: Pasting a public image URL in this field will use it as a centered logo in the middle of your QR Code.
3. The Unitag part is a small section of prefilled lines. This does not need to be edited, for it will only serves Unitag services once the template has been imported.
